How to Add a Contact Form in WordPress
Step 1: Install a Contact Form Plugin
WordPress offers many plugins that make it easy to add a contact form to your website. Among popular ones are Contact Form 7, WPForms, and Ninja Forms. Choose a plugin that suits your requirements and install it.
Step 2: Activate the Plugin
Once the plugin is installed, go to the WordPress dashboard and activate it from the plugins section. This will make the contact form functionality available for your website.
Step 3: Create a New Form
After activation, a new section related to the contact form plugin will appear in your WordPress dashboard. Look for the “Form” or “Forms” option and click on it. Then, proceed to create a new form by specifying relevant details such as name, email, and message fields.
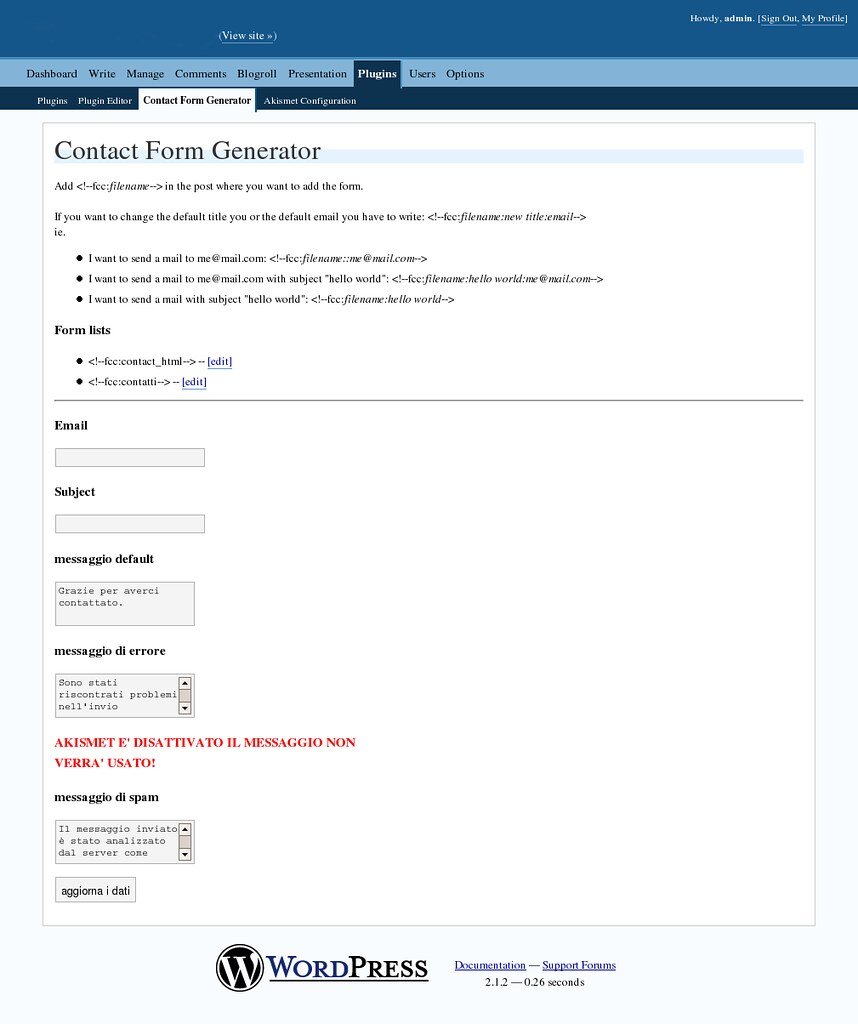
Step 4: Customize the Form
Once your form is created, you can personalize it according to your preferences. You can define the layout, colors, font styles, and add additional fields as necessary. Make sure to have a clear call to action and adequate instructions for users.
Step 5: Add the Form to a Page
After your form is customized, copy the provided shortcode. Open the page where you want to display the contact form and paste the shortcode inside the content area. Save your changes and preview the page to see how the form looks.
Step 6: Adjust Form and Submission Settings
Depending on the plugin you chose, you may have various settings for form validation, notifications, and confirmation messages. Explore the plugin settings to make any necessary adjustments. Test the form by submitting a test entry and verifying that you receive the notification, if applicable.
Step 7: Monitor and Manage Form Submissions
Keep track of all form submissions through the plugin’s interface or via email notifications. Most plugins provide an organized dashboard or a separate section where you can find and manage all the received messages. Respond promptly to any inquiries or messages you receive through the contact form.
Conclusion
Adding a contact form to your WordPress website is a straightforward process with the help of plugins. Follow the steps above to install a suitable plugin, customize your form, and integrate it into your desired pages. With an easily accessible contact form, visitors can easily get in touch with you, leading to improved engagement and potential business opportunities.